

Let’s jump right in to get you on track with your journey on Easynote.
In this guide, we’ll teach you how to:
If you’re a visual learner, we recommend starting with watching this video:
If you’d rather read through our step-to-stop guide, let’s get started:
1. Create your first project
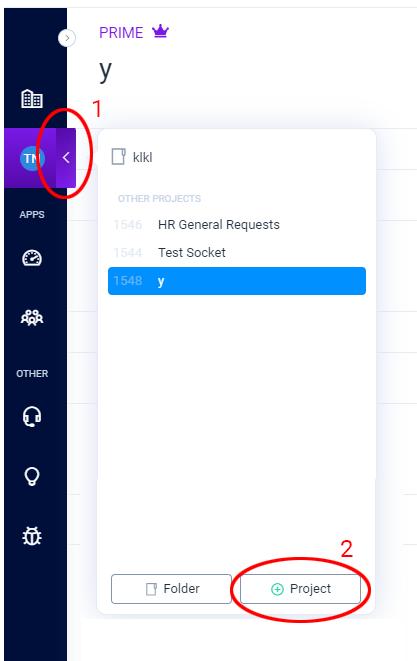
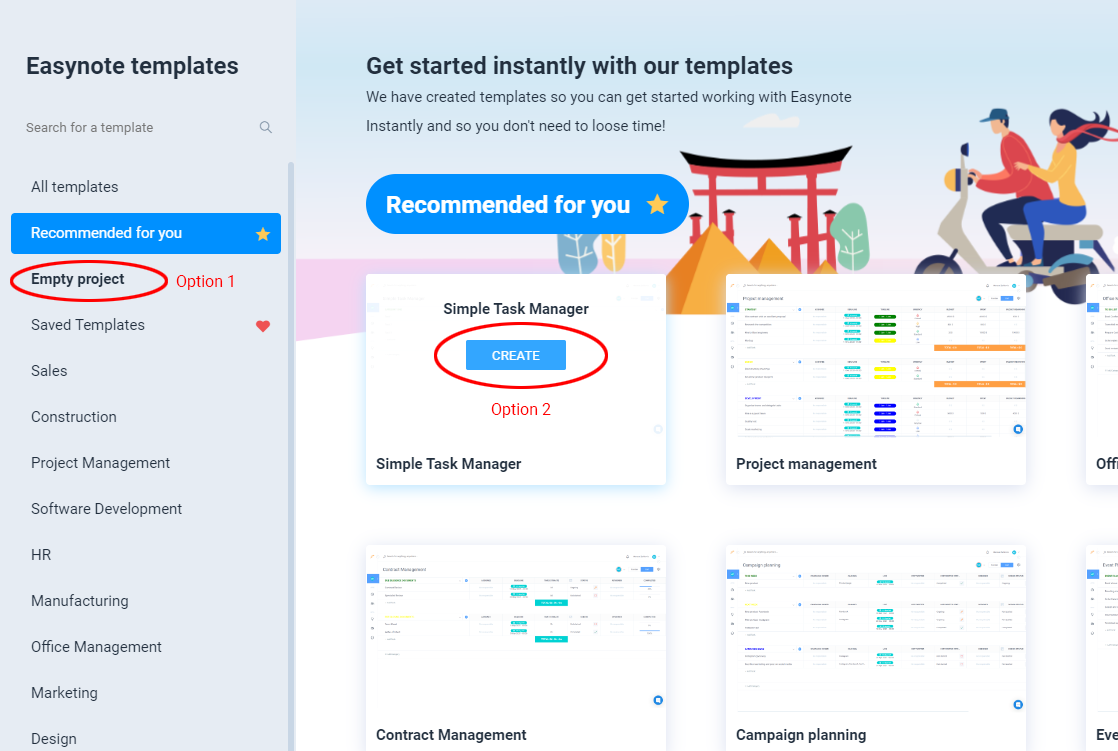
Thankfully, creating a new project on Easynote is super simple: Click on the arrow in the menu.
2. Let's get your team on board
In order to be able to collaborate and work on your projects together, you will want to invite your team.
First of all: Only an owner or administrator of a team can invite someone to the team.Now that we have that out of the way, here are two different ways to invite people to your team on Easynote:
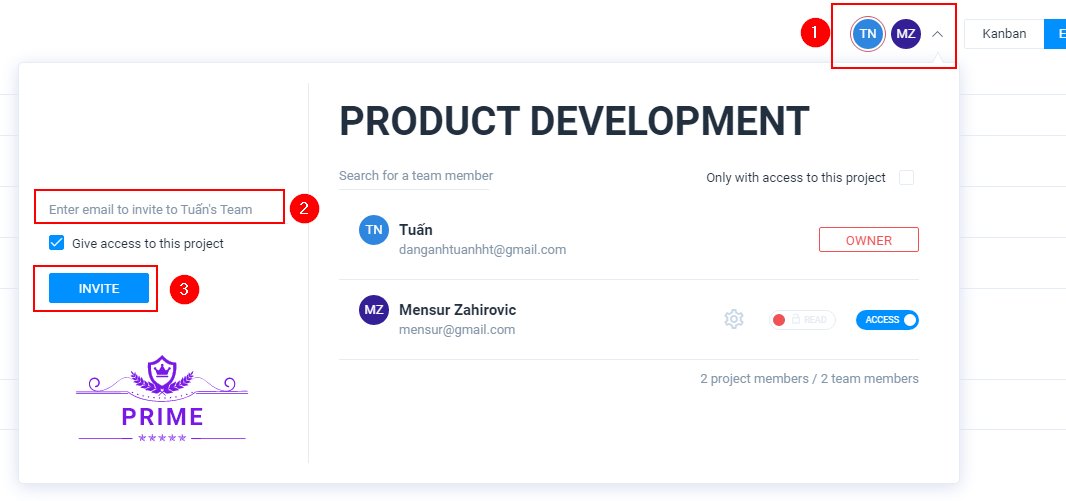
Once you're on a specific project, click on the avatars in the upper right corner To the left, enter the email of the person you would like to invite to your team Click on invite
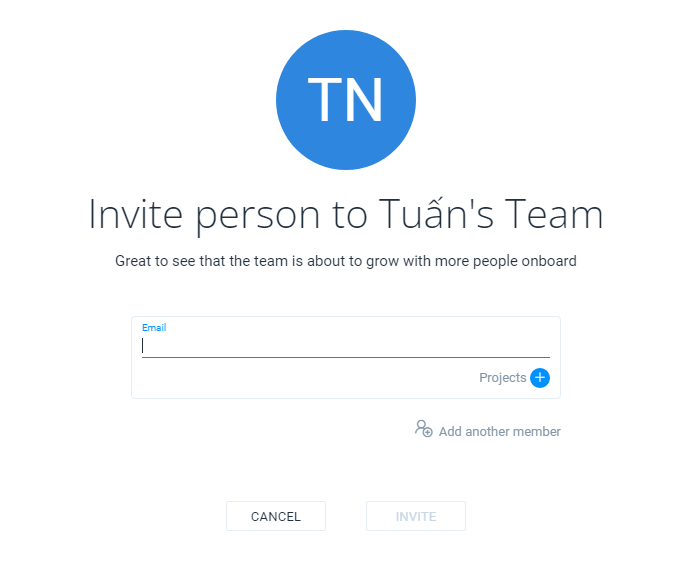
Go to Teams and People Click on Invite someone to your team You will be taken to another screen where you can enter the email of the person which you would like to invite.
If you’d like to learn more about teams check out these articles:
What are Teams and People and how do they work
3. You got your team members & your project, let's give them access!
In order to give someone access or remove someone's access in a particular project you need to first make sure that those people are part of your team.
Note: Only the project owner or a project adminstrator can give or remove access to a project.
It is very easy to find out who has access to your project.
Access button blue = Person has access to selected project
Access button gray = Person doesn't have access to the selected project
Give someone access to a project
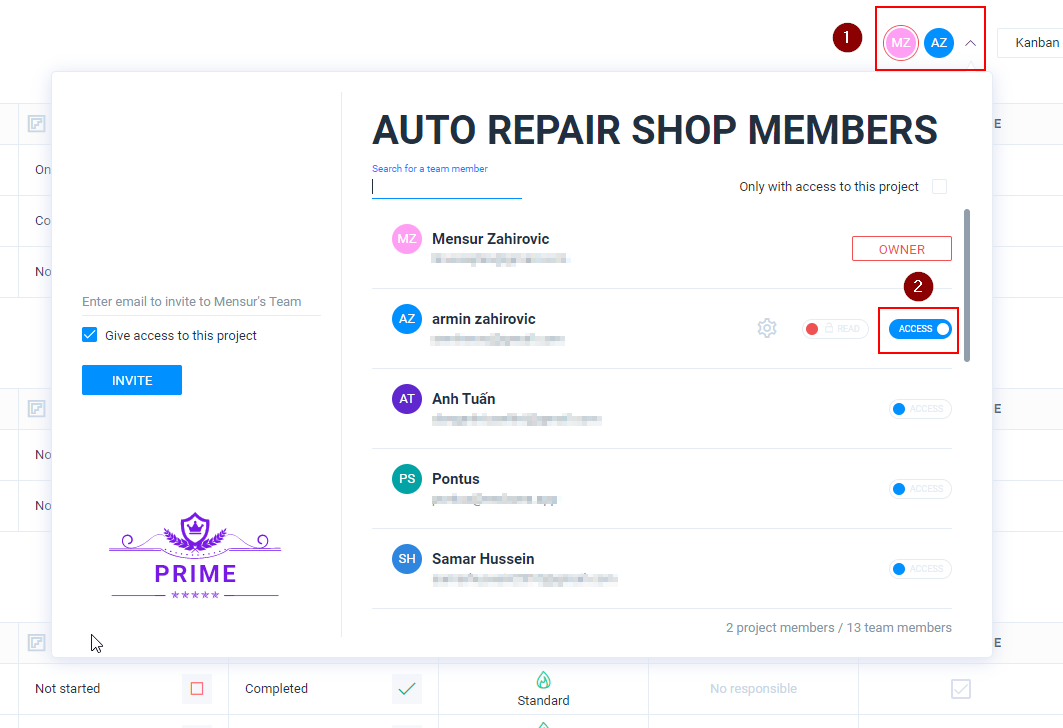
Click on your avatar in the project.
Select the user you would like to give access to in this particular project and then click on the Access button
Once you have clicked on the Access button it switches from gray to blue. This means that this person now has access to this particual project.
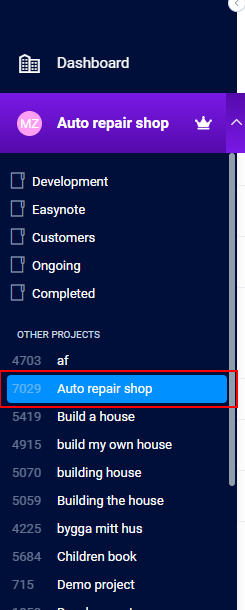
Once you have given them access, the project will now be visible for them in the menu like shown in the screenshot below.
How to remove someone from a project
Follow the steps above, however simply click on Access button again so it switches from blue to gray.
Once it is switched back to gray, that person will not have access to your project anymore.
If you would like to know more about how to manage project members, and project administrators or how to delete projects, you can read more about handling the administrative aspect of your projects here.
4. Let's get productive with Easyview
Once you create your first project, you’ll enter a view which is called Easyview and it will look something like this:

Easyview is an intuitive way of working where you are working in a grid. Did you know that people think in grids, not in hierarchy? It’s an intuitive, flat way to organize information.
Intrigued? Learn more about Easyview here.
Now, one of the most powerful things inside Easyview and Easynote are widgets that can be added to Easyview.
So what are widgets?
When you think of Excel, you know you have different columns and that those columns can do many different things, depending on what formulas you put in there. They can manage statuses, budgets, checkboxes, timelines, people etc. — right? They can be anything. Our widgets are an easy and visual way of replacing those formulas. With a simple click you can add important columns and keep track of everything from your budget to the deadline and urgency of each task inside your project.
Read more about the different types of widgets here.
Easynote comes with a bunch of amazing widgets. To see the entire list of widgets and what they do, click here.
5. Prefer to work agile? Switch to Kanban view
We all work best in our own way and want to give our users the option to choose what works for them. That’s why you can easily switch to Kanban view, similar to Trello.
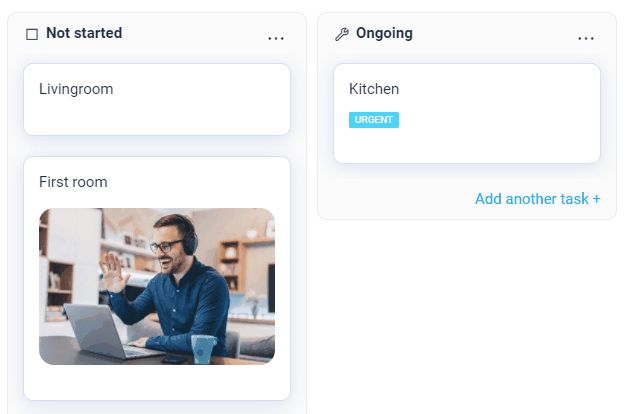
Kanban helps you visualize your process by working on a board with cards and columns. Each column on the board represents a step in your workflow. Each Kanban card represents a work item. The Kanban board itself represents the actual state of your workflow with all its risks and specifications. When you start working on an item, you pull it from the “Not started” column and move it to “Ongoing”. This way, you can easily track progress and spot bottlenecks that cause delays in your project. Naturally, you can adjust your columns and cards according to your specific needs.
When using Kanban view in Easynote, the list comes with several options which will help you save time when you need to perform certain actions.
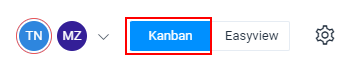
Switch to Kanban view from Easyview
Once you are in Kanban, click on the 3 dots, in a list inside Kanban
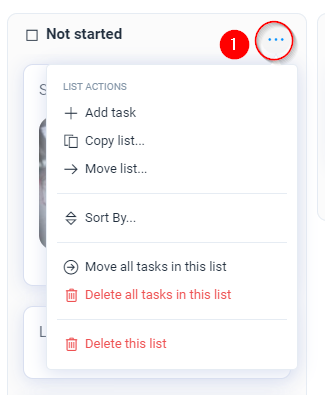
Add task
Adding a new task inside the listCopy list
Copies entire list to another list in the same Kanban boardMove list
Moves the list to another projectSort by
Sort the tasks in different ways inside the listMove all tasks in this list
It moves all tasks from this status to another statusDelete all tasks in this list
Deletes all tasks in the listDelete this list
It deletes the entire list (status) and all tasks in this list
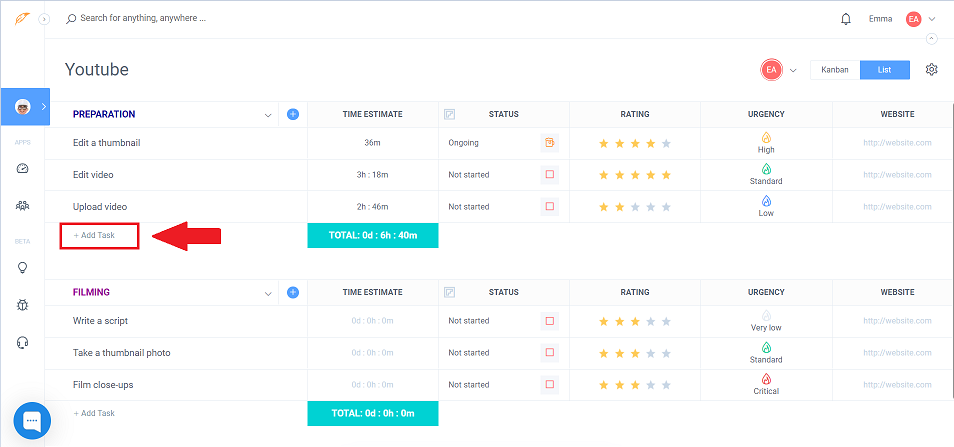
6. Well done, let's create some tasks!
Now that you know all about Easynote and its different views, let's learn how to work with tasks and how to create tasks inside our projects.
Under every project (“Preparation” in the example below), under all tasks, there is a + Add Task feature that you need to click on to create a new task.
Learn more about tasks (How to delete, export, archive) and much more
7. Find anything, anywhere in your ongoing projects
We know the trouble of not being able to find the thing you’re looking for, even though you could have sworn you saw it earlier. That’s why Easynote comes with a search function that allows you to search your tasks, comments, projects and attachments all at once.
How to use AnySearch in Easynote
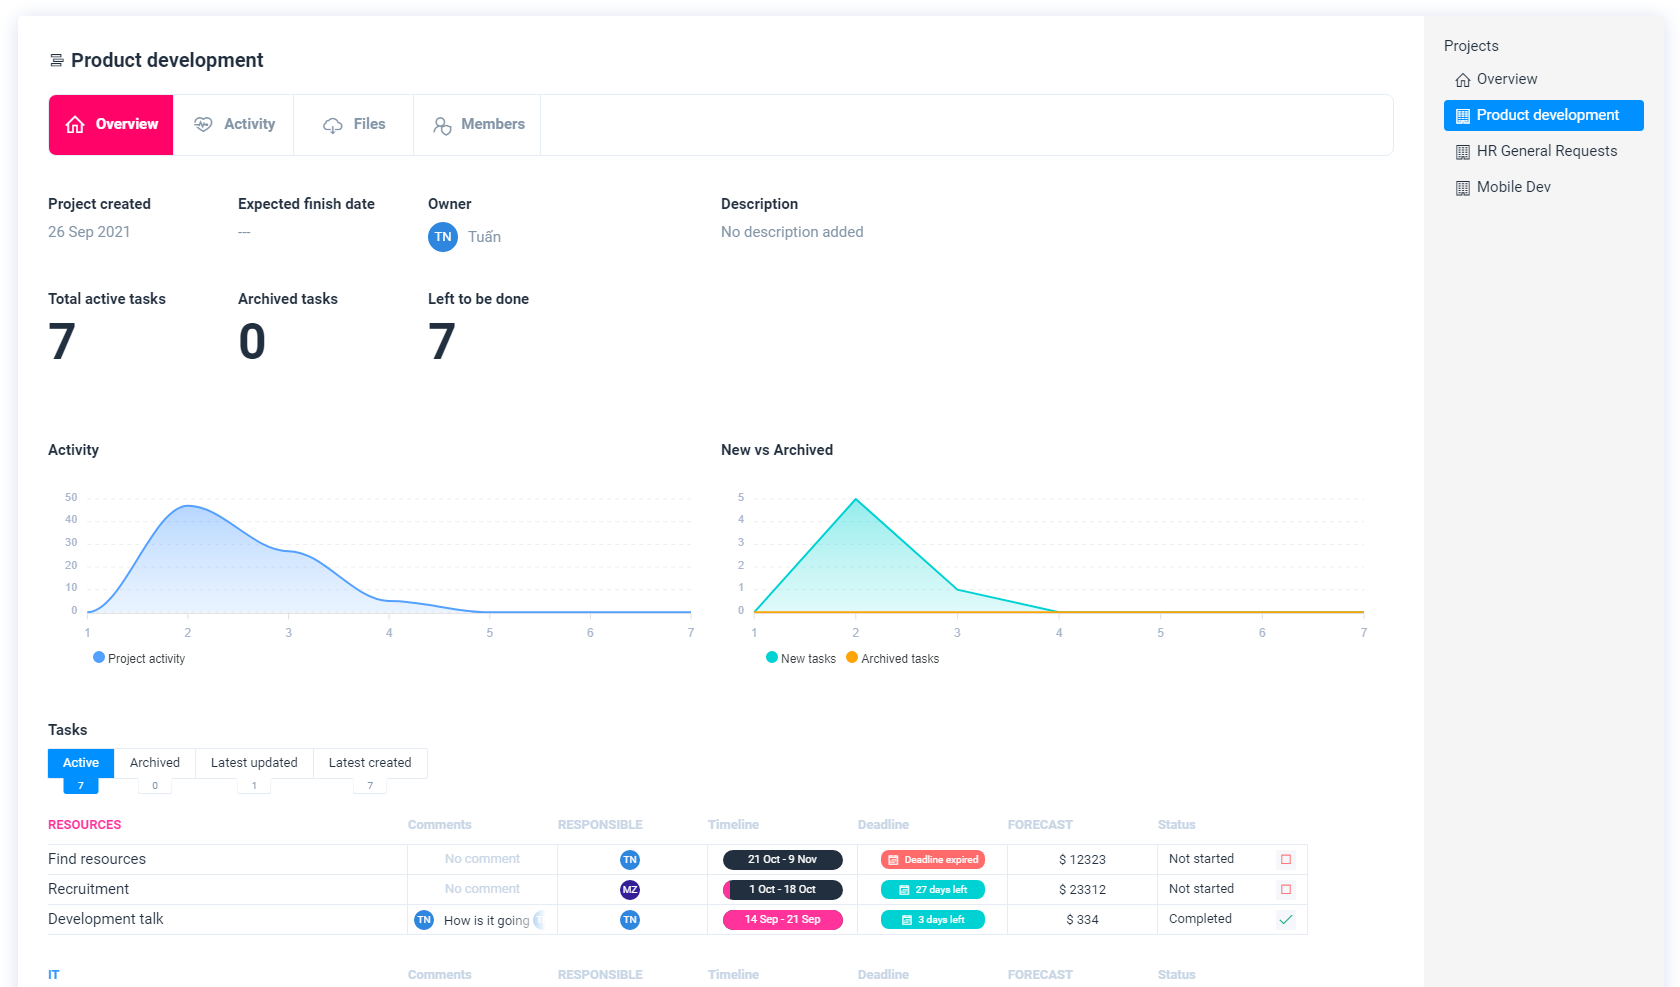
8. Our latest addition: Customize your own dashboard
Recently, we added the option for you to customise your dashboard. The dashboard gives you an overview of all your ongoing projects, shows you the tasks that are still open and by when they need to be done. Simply said, it helps you stay on top of everything.
Learn more about how to create and use your own personalized Dashboard
9. Last but not least: Manage your settings
Perhaps less fun, but definitely not less important: Learn how to manage your settings here.
A tip from us: Make Easynote more secure by enabling two-factor authentication
As our program grows, we are continuously adding more and more articles on Easynote to offer the best support we can. But if you have any more questions you are welcome to contact us here at any time.
Good luck!