If you would like to make your account more secure on Easynote, you can enable 2FA / Two-factor authentication on your account.
This will enable extra layer of protection of your account.
In order to start you need to download Authyor Google Authenticator (IOS or Android) for your phone or tablet.
Once you have downloaded one of your apps go to Settings in Easynote
How to enable 2FA on your Easynote account
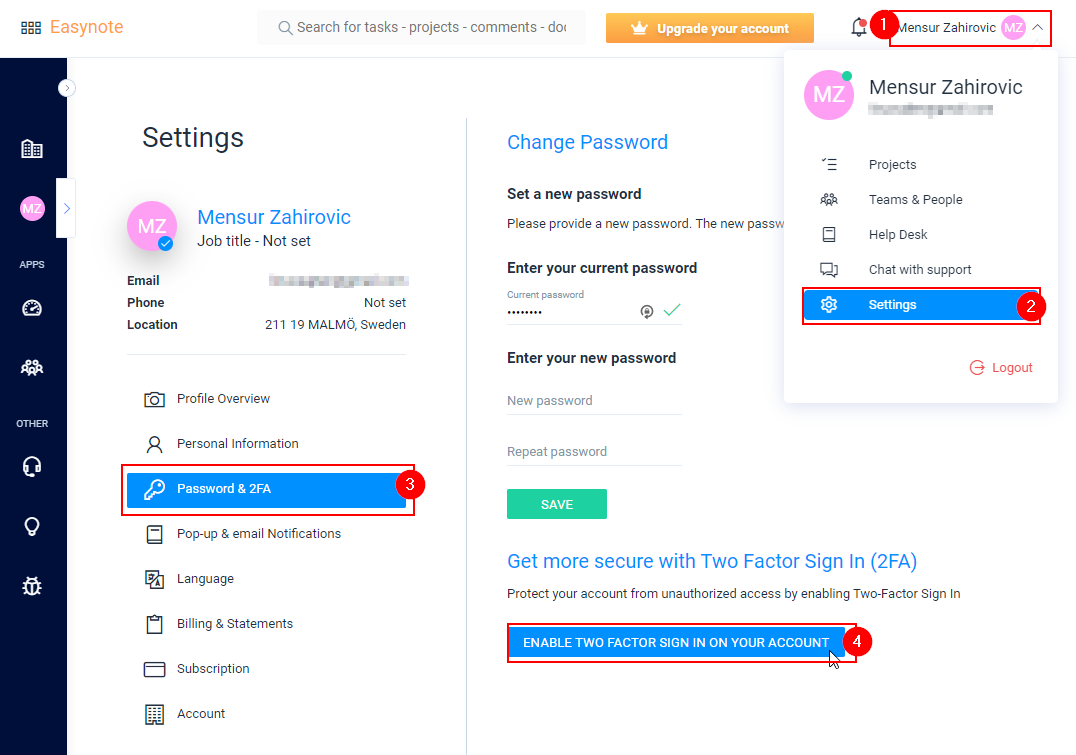
Click on your name
The to the left Password & 2FA
Once the password page opens click on the button Enable Two Factro Sign In On Your Account
After you have clicked on the button Enable Two Factro Sign In On Your Account a popup will open.
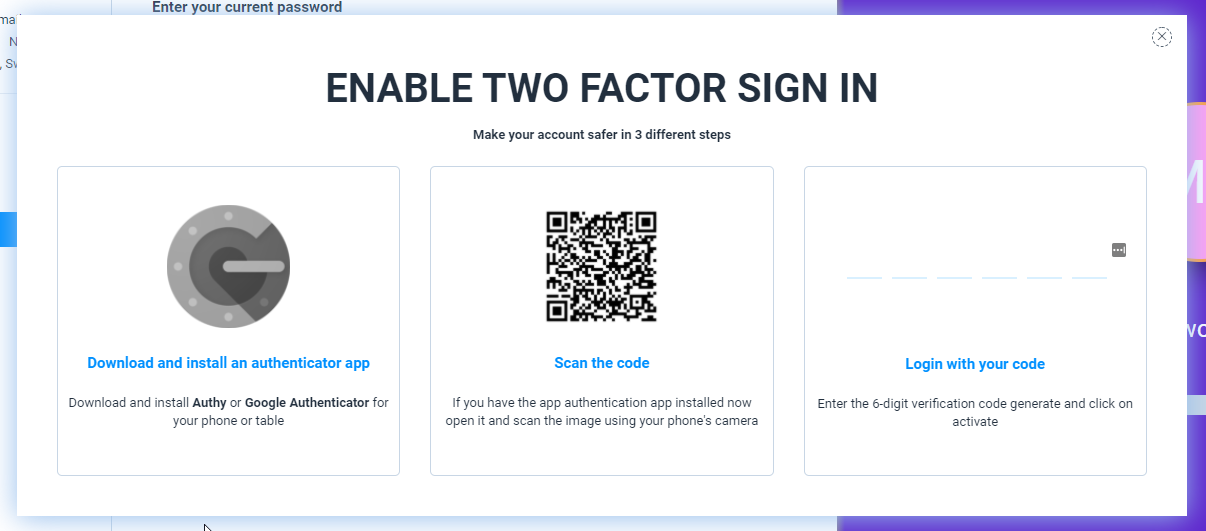
Open your Authy or Google Authenticator app now, and scan the code in the middle which is being generated.

Now, your mobile app has generated a 6 digit number.
Enter this code now in Easynote, in the this area.
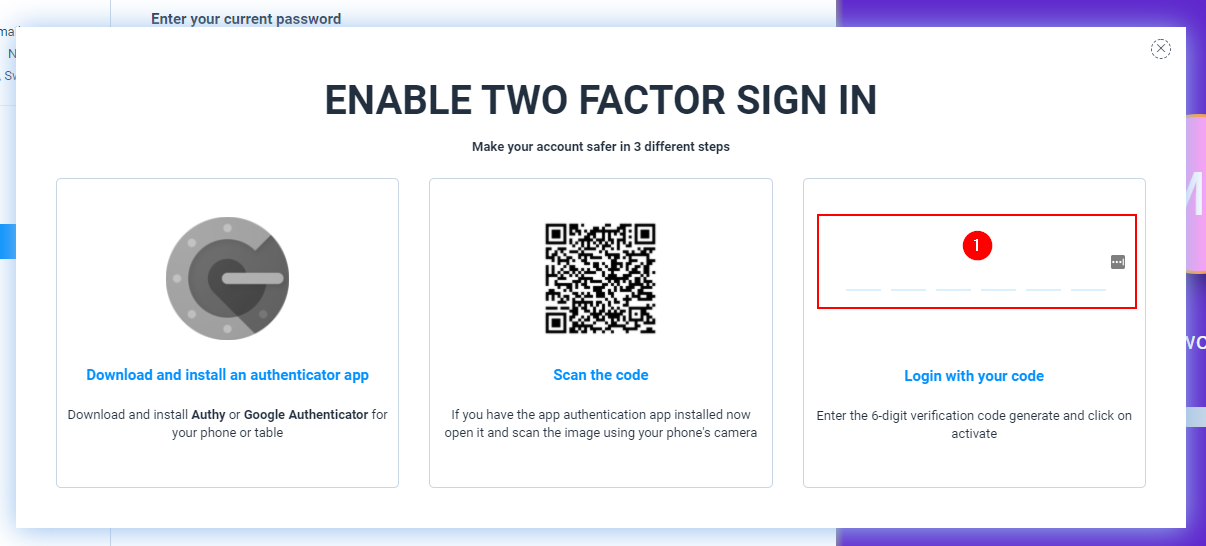
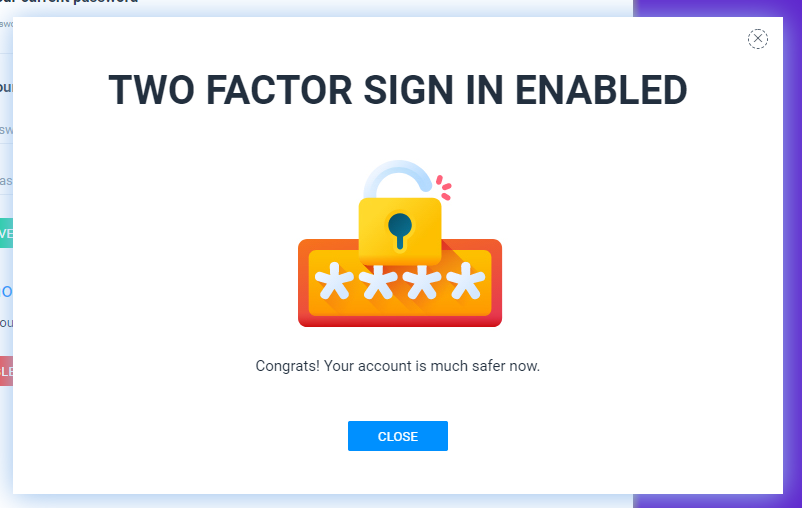
Once you have entered your code, a popup will show that you have successfully enabled 2FA on Easynote.
How to login with 2FA / Two-factor authentication
Now that you have enabled 2FA on Easynote, next time you login into Easynote you will be asked to provide a code for your account.
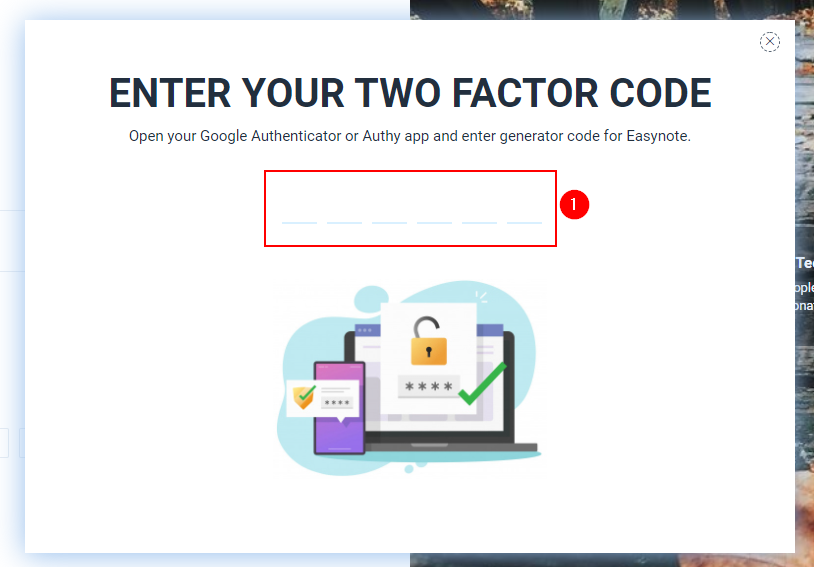
Open your Authy or Google Authenticator app now.
Find the Easynote code that has been generated and enter it here (1).
And you are inside Easynote.
How to disable 2FA / Two-factor authentication
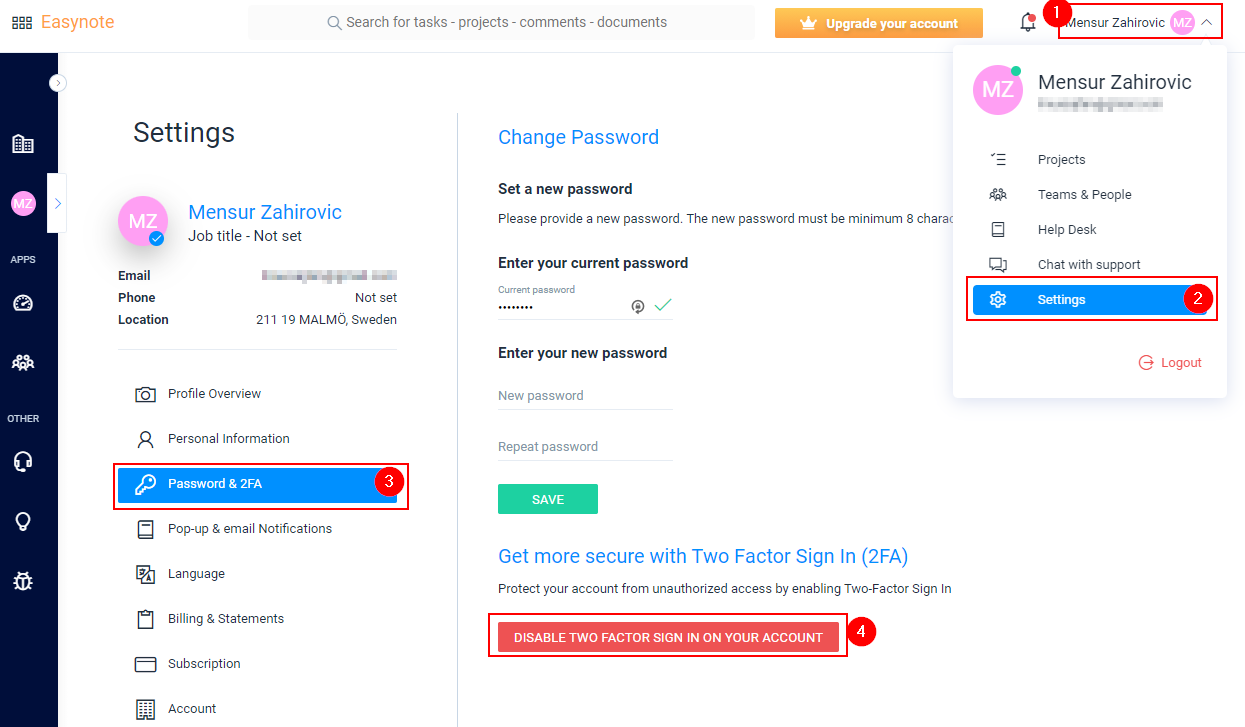
To disable the 2FA on your account go to the Settings
Click on your name
Go to Settings
Go to Password & 2FA in the menu to the left
Click on the button DISABLE TWO FACTOR SIGN IN ON YOUR ACCOUNT
Open your Authy or Google Authenticator app now.
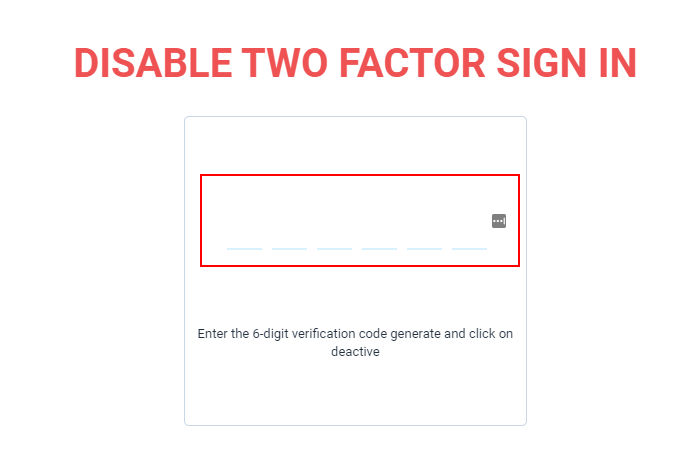
Enter the code generated by Easynote
Fill in the code in the popup
Your 2FA / Two-factor authentication has been disabled on Easynote
